Wilesco make several variations on the same basic mobile steam engine. You can have a traction engine or a steam roller, you can have it in colour painted steel or lacquered brass, and you can have a simple (and rather ugly) radio control. They also do kit versions of some their engines. I went for the D415 kit version of the D405 painted traction engine.
By the way, the British company Mamod is still going, and makes a similar sized traction engine. I think it's a cruder design though, with belt drive and an oscillating cylinder engine rather than the Wilesco's double acting slide valve engine.
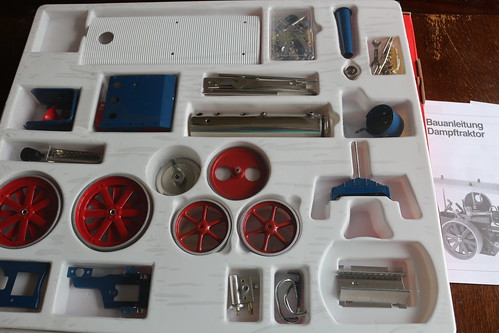
The kit arrived very quickly - ordered on Tuesday midday, delivered on Friday morning. All the parts are held in a simple plastic tray and secured with clear sticky plastic. I assume the same tray is used for other kits, such as the showman's engine, which is why there are some empty spaces.
One disadvantage of buying direct from Germany is that the assembly instructions supplied are in German. Luckily I was able to find an English version online, otherwise I would have needed a few hours with a dictionary and still would have had problems.
I started assembling immediately and had finished by Saturday lunchtime. There were one or two tricky areas and I took extra care with the crankshaft assembly and drive gears. I needed extra washers on the crankshaft left hand side to adjust the flywheel position so it didn't rub on the intermediate gear. I also needed to bend the prongs on the drive gear so that it could slide far enough to the left do disengage fully from the intermediate gear.
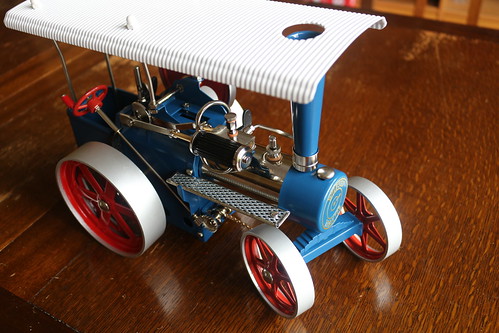
The picture shows the fully assembled engine. I think I could have improved the fit between canopy and funnel by adjusting the canopy supports, but I decided to remove the canopy entirely instead. I think the engine looks better without it.
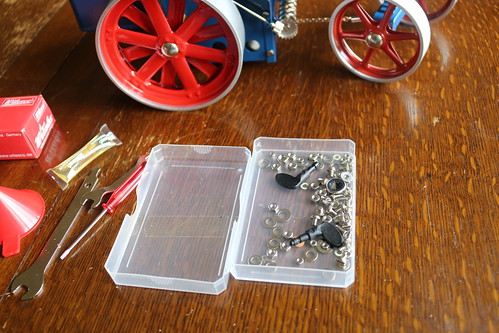
There are a lot of leftover nuts, washers and screws! I think this is probably because the same box of small parts is used for all the kits.
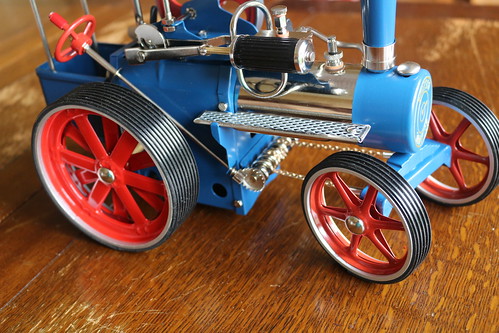
One upgrade I made immediately is to fit rubber tyres. There are several suppliers of these on ebay, with different price / quality levels. I went for some cheap ones which I think don't look too bad. They do have rather obvious seams though, carefully hidden when I took this picture.
By Monday I was ready to fire up the engine for the first time. I also made a video, using my DSLR in its video mode for the first time. I'm really pleased with how well this little engine performs and am looking forward to testing its pulling power once I've got a trailer to attach to it.
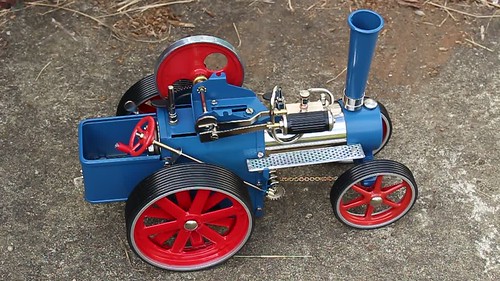
PS Today (Wednesday) I fired it up for the second time. This time was indoors, so I could see how the "WiTabs" fuel burned without any wind disruption. I tried prolonged slow running and was very pleased with the result.
No comments:
Post a Comment