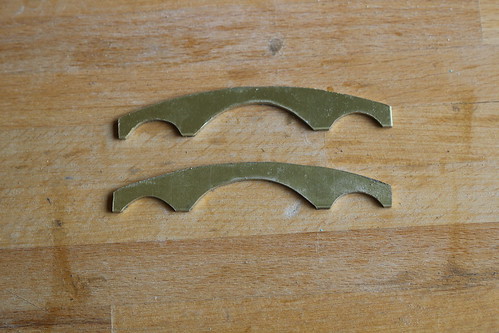
I cut the cross members from 1.5mm thick brass sheet. This was the first time I'd used a piercing saw (also known as a jeweller's saw) since my 'O' level metalwork practical exam 41 years ago. At least I didn't saw into my finger this time.
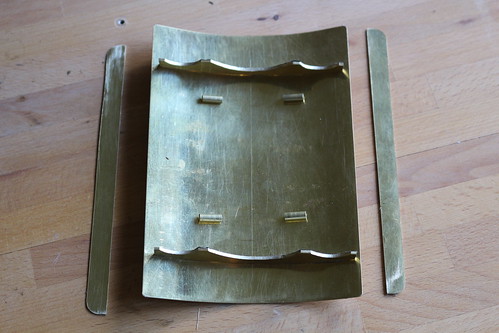
The top and sides are cut from 0.55mm brass. I bent the top around a suitable diameter plastic pipe, gradually bending it a bit further until it matched the curve of the cross members. The four short pieces of 4mm brass tube will receive the vertical supports.
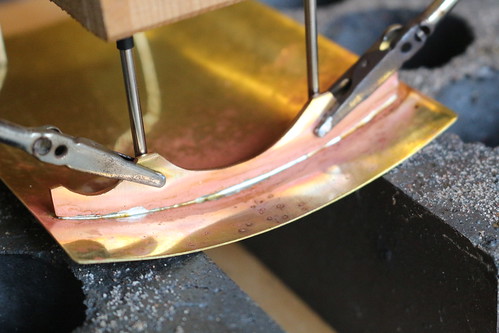
The previously assembled jig was used with four lengths of 3mm stainless steel rod to hold the brass tubes in place while each cross member was soldered.
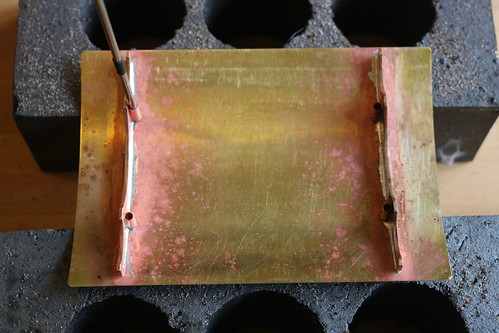
Unfortunately one of the pieces of stainless steel got soldered in place, even though I was using flux that clearly says "not for use on stainless steel". I couldn't wrench it out without ripping off the brass tube, so I had to cut a new piece of tube and resolder that corner.
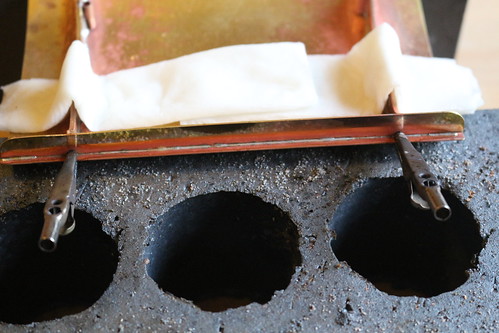
I used wet kitchen towel to prevent the cross members becoming unsoldered while I soldered the sides. I hadn't realised in advance that heating just one side of the roof would cause it to distort, so the ends of the sides are slightly separated from the top. I probably should have glued the side pieces on instead of soldering them.
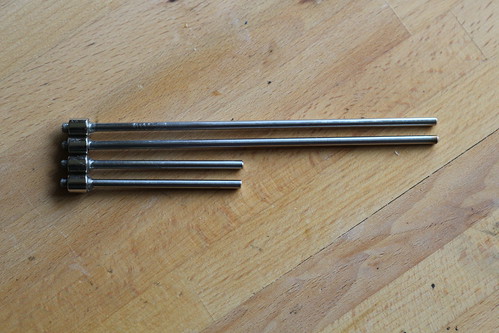
The supports are made from 3mm stainless steel rod. After cutting them to length I glued a cylindrical magnet to each one. The magnets are ¼ inch diameter with an ⅛ inch hole.
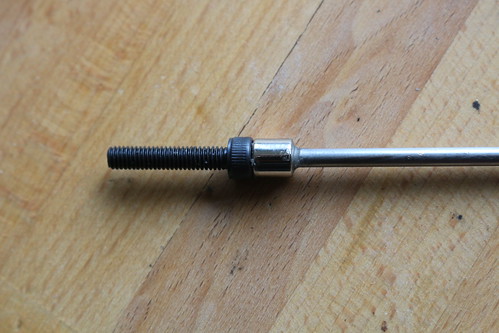
The magnets are positioned so the protruding bit of 3mm rod snugly fits the cap of an M4 socket head screw. I used a screw to hold each magnet in place while the glue set, but was careful to remove the screw before the glue had fully hardened. Some glue had worked its way into the screw cap.
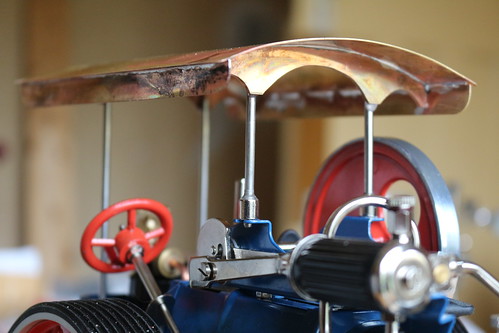
With the magnets in place I was able to fine tune the length of each support so the canopy was level and evenly supported. The front supports attach directly to the traction engine "machine plate" while the rear supports attach to M4 x 20mm socket head screws in the original canopy's mounting holes in the scuttle. (I probably should have used longer screws, bringing the heads nearer the top of the scuttle.) Once I was satisfied with the support lengths I glued them into the brass tubes.
All that's left to do is to remove excess solder and glue, then cleaning and painting.
No comments:
Post a Comment