Tuesday, 21 November 2017

AstroMedia Copernican Orrery kit - part 2

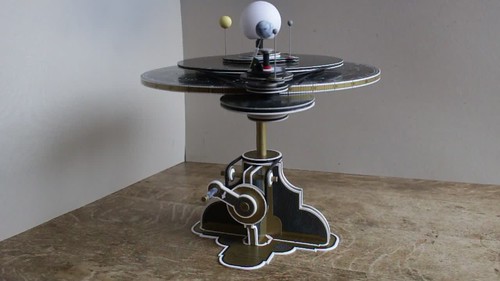
In part 1 I described the first half (approximately) of the construction of a cardboard Orrery kit from AstroMedia. In the second half things get more interesting, and more complicated, as the majority of the pulleys and shafts are assembled.

AstroMedia Copernican Orrery kit

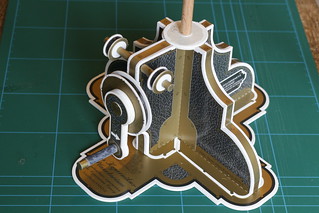
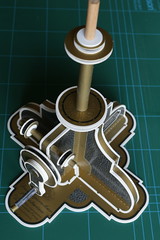
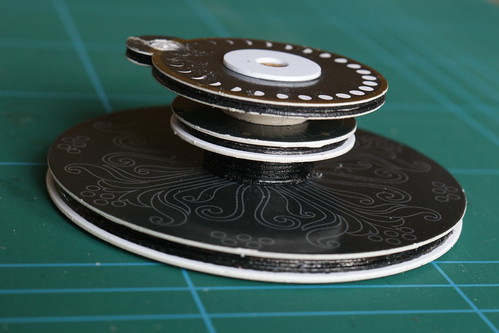
The first part to be constructed is the "planetary gearing". This will eventually roll around the ecliptic disc, held in place by drive bands above and below the ecliptic disc.
AstroMedia Copernican Orrery kit

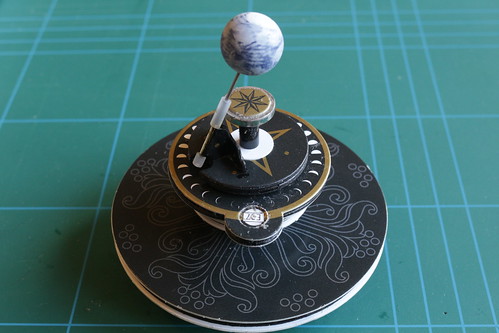
As you know, Earth's rotational axis is tilted and the Orrery has quite a clever system to keep the axis pointing in (roughly) the same direction as the Earth orbits the sun. The Earth rotates on a steel shaft which runs through a brass tube attached to a small bracket. The bracket is attached to a hollow shaft that passes through the planetary gearing to a drive wheel below.

The Earth's rotation is driven by another pulley and shaft that passes through the planetary gearing. A round magnet attached to the top drives the Earth's rotation via a small piece of silicone tubing. Unfortunately I didn't get the magnet exactly centred on the shaft and so the drive occasionally slips.
AstroMedia Copernican Orrery kit

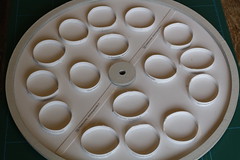
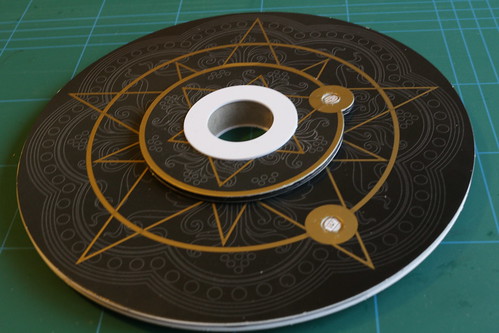
Above the ecliptic disc are two large discs supporting Mercury and Venus. The orbit of Venus is driven by a belt around its large support disc, and Mercury is driven from below by a hollow shaft through the Venus disc. After fitting all the drive belts the moon and remaining planets are attached with steel support pins.
AstroMedia Copernican Orrery kit

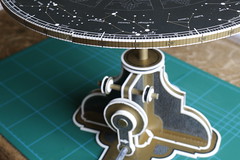
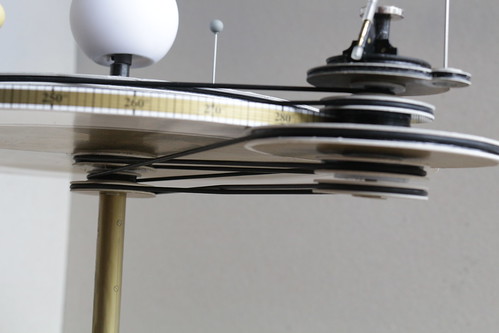
There are five drive belts holding the planetary gearing in place. The topmost one drives the orbit of Venus, the next drives Mercury's orbit. The bottommost one drives Earth's rotation, the next keeps Earth's axis pointing in a constant direction and the last drives the planetary gearing to roll around the ecliptic disc. Does it all work? Watch the video and see for yourself.
AstroMedia Copernican Orrery kit

PS More pictures of its construction are available on Flickr.
Tuesday, 14 November 2017

AstroMedia Copernican Orrery kit - part 1

AstroMedia Copernican Orrery kit

For a long time I've fancied having an Orrery but have been put off by the high price of traditional style brass ones with all the planets (and Pluto). Something much more my style is the cardboard kit from AstroMedia. This only has the inner planets, but I get the fun of building it.

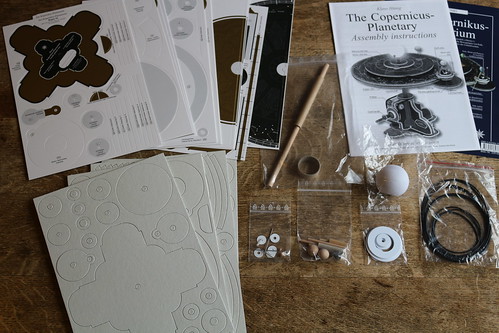
I bought the kit a few months ago from Sherwoods Photographic Ltd, a company I've bought a telescope and accessories from in the past. Two weeks ago I finally got round to starting to construct it.

I soon discovered that one of the die-cut thick card sheets was missing (and I had a duplicate of another sheet). I emailed Sherwoods and they arranged for the UK arm of AstroMedia to send me a replacement, which arrived the next day. Top notch service from both companies.

At the time of writing I'm about halfway through building the kit. So far I'm very impressed with its quality, and with the instruction leaflet, although it occasionally reveals its German language origins. Construction is quite slow as you have to allow glue to set before moving on to the next stage. I'm also doing the optional painting of some cardboard edges on partly assembled components, so I have to wait for that paint to dry as well.

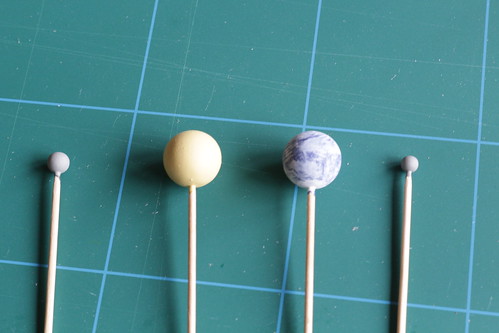
There is a temptation to read ahead and start constructing later parts, but with so many similar looking wheels it could get very confusing. One thing I have done in advance though is to paint the small wooden spheres used to represent the planets and our moon, after temporarily mounting them on cocktail sticks.

AstroMedia Copernican Orrery kit

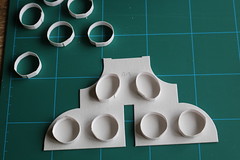
The first component to be built is the pedestal. This uses spacer rings between two sheets of card to make a strong, light structure. Strips of printed paper are used to cover the gap — a fiddly bit of glueing but the result isn't too bad.

AstroMedia Copernican Orrery kit AstroMedia Copernican Orrery kit AstroMedia Copernican Orrery kit AstroMedia Copernican Orrery kit

Next is the drive crank and pulleys, followed by the pedestal base and the central shaft with three pulleys.

AstroMedia Copernican Orrery kit AstroMedia Copernican Orrery kit

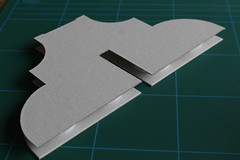
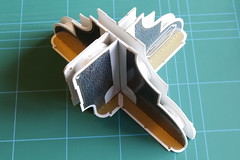
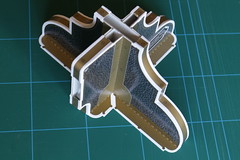
Today I finished the ecliptic disc, another structure using spacing rings. It's beginning to look like something now.

AstroMedia Copernican Orrery kit AstroMedia Copernican Orrery kit

PS Part two is now available. More pictures of its construction are available on Flickr.
Tuesday, 19 September 2017

The "Molli-bahn" - a narrow gauge steam railway in north Germany

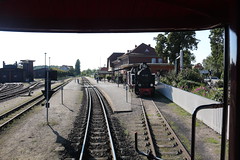
On our recent holiday in Germany Sarah and I stayed 3 nights in Bad Doberan and had a ride or two on the "Molli" bahn, a 900mm gauge railway that runs from Bad Doberan (where it connects with the main line) to Kühlungsborn on the Baltic coast. The first stage (Bad Doberan to Heiligendamm, 6.6km) dates from 1886, and the second stage (Heiligendamm to Kühlungsborn, 8.8km) from 1910. It's all single track, with passing at Heiligendamm station.

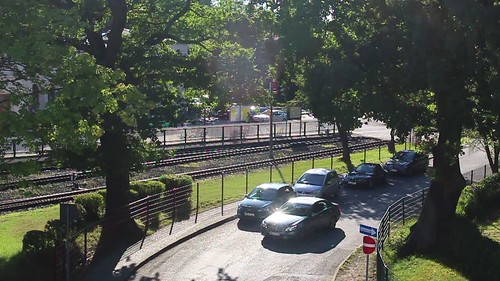
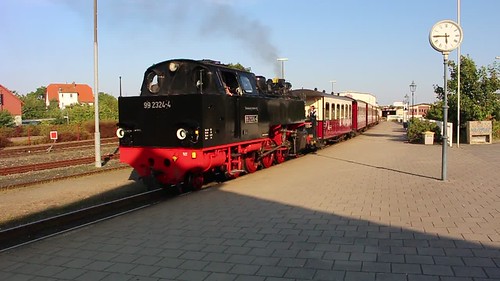
Our hotel was nice and close to the station. I recorded this video the afternoon of our arrival. Not a bad view from a hotel balcony! (Sarah was less impressed when we discovered that the first train in the morning arrives at 07:21, in similar noisy fashion.)
"Molli Bahn", Bad Doberan, Germany.

All these pictures and videos are hosted on Flickr, from where you can view or download them at full resolution.

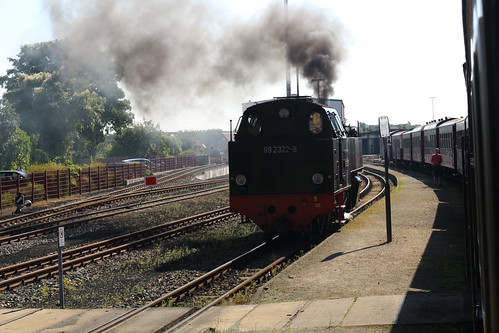
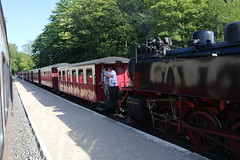
The next day we went by train to Kühlungsborn for a day at the seaside. The first pictures are of the loco being run around at Bad Doberan.
Bad Doberan to Kühlungsborn on the "Molli Bahn", Germany

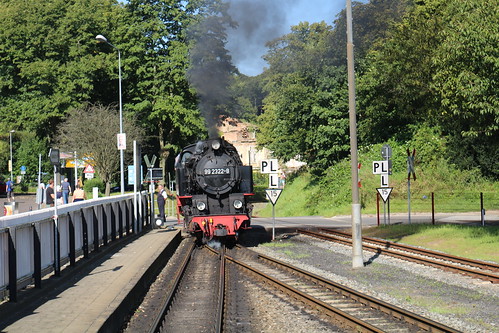
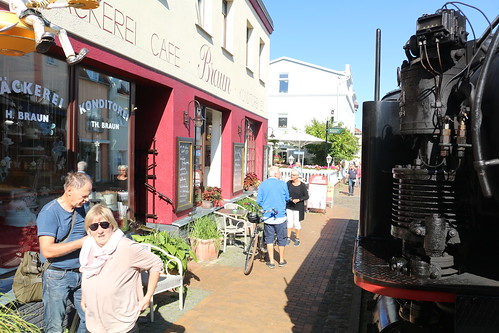
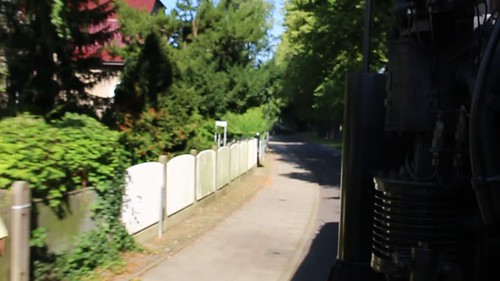
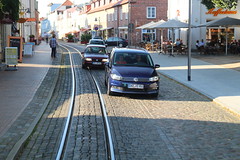
We got the best seats, right at the front of the train with a good view of the engine. One of the delights of the "Molli" is its street running in Bad Doberan (with continuous bell sounding).
Bad Doberan to Kühlungsborn on the "Molli Bahn", Germany

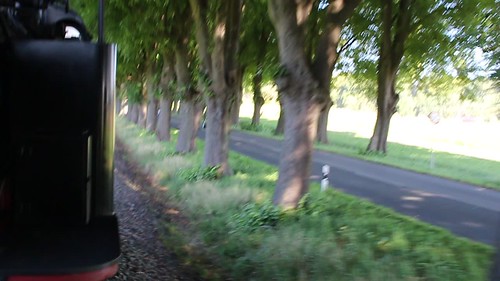
Once off the streets it can go a bit faster.
Bad Doberan to Kühlungsborn on the "Molli Bahn", Germany

I'm quite pleased with this video of it setting off from Kühlungsborn Mitte.
Bad Doberan to Kühlungsborn on the "Molli Bahn", Germany

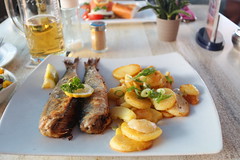
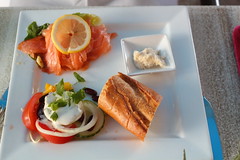
The beach at Kühlungsborn is long and sandy, and the sea is beautifully clear. We both had a swim and then had a lunch of fish and beer.
Kühlungsborn, Germany Kühlungsborn, Germany
Lunch in Kühlungsborn, Germany Lunch in Kühlungsborn, Germany

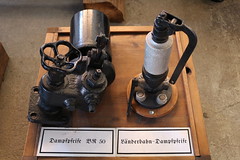
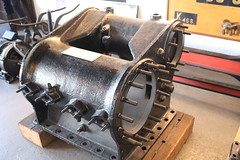
At Kühlungsborn West station there is a small museum.
"Molli" Museum, Kühlungsborn, Germany "Molli" Museum, Kühlungsborn, Germany

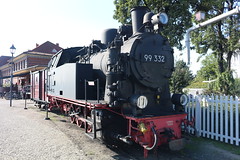
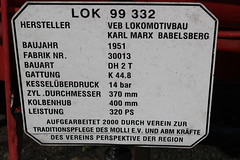
Among the exhibits is a 1951 loco. The ones in service date from 1932.
"Molli" Museum, Kühlungsborn, Germany "Molli" Museum, Kühlungsborn, Germany

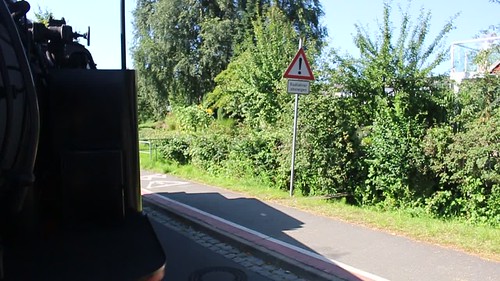
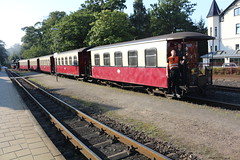
For our return journey we got the best seats again, this time right at the back of the train.
Kühlungsborn to Bad Doberan on the "Molli Bahn", Germany Kühlungsborn to Bad Doberan on the "Molli Bahn", Germany

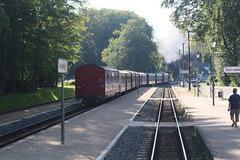
Passing at Heiligendamm.
Kühlungsborn to Bad Doberan on the "Molli Bahn", Germany Kühlungsborn to Bad Doberan on the "Molli Bahn", Germany

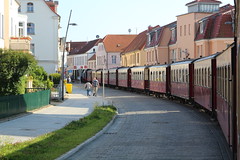
Street running in Bad Doberan.
Kühlungsborn to Bad Doberan on the "Molli Bahn", Germany Kühlungsborn to Bad Doberan on the "Molli Bahn", Germany

At Bad Doberan the last two trains of the day have 5 of the 10 carriages uncoupled and moved to a shed.
"Molli Bahn", Bad Doberan, Germany "Molli Bahn", Bad Doberan, Germany

The loco is then coupled to the remaining 5 carriages, plus saloon and luggage wagons, before leaving for Kühlungsborn where it spends the night.
"Molli Bahn", Bad Doberan, Germany

Sunday, 25 June 2017

Hungarian sour cherry soup

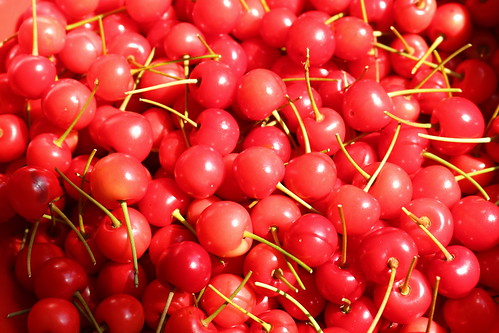
Fresh picked cherries

I have a Morello sour cherry tree in my front garden that, most years, produces more fruit than I know what to do with. This year I asked online for ideas to use the surplus and someone suggested sour cherry soup, a Hungarian speciality.


I searched for recipes on line and found a huge variety — whole cherries or pulverised, warm or chilled, with or without alcohol. Many of the recipes include lemon juice and/or zest, but these tend to be using sweet cherries rather then the (not often available to buy) sour cherries I have.


I combined the best elements of several recipes to come up with this:

  • 400g Morello cherries
  • 2 cloves
  • ~1cm cinnamon stick
  • 100ml red wine
  • 200-300ml water
  • 25g sugar
  • 1 tsp flour
  • 100ml crème fraîche
  1. Stone the cherries and place in a saucepan with the cloves and cinnamon. Add the red wine and water to cover. Bring to the boil and simmer for 20 minutes.
  2. Blend the flour and crème fraîche in a small bowl.
  3. Work the cherries through a sieve, removing the cloves and cinnamon. Stir in the cream and flour and return to the boil. Whisk until smooth and free of lumps of cream. Simmer very gently for five minutes to thicken slightly.
  4. Stand the pan in cold water to cool the soup, then finish cooling in the fridge.
Serves 2.


The result was amazingly good. A smooth, slightly sour, soup that really got the taste buds going for the main course. I'll definitely be making it again.


Next time I'll try simmering the stones in water first, to extract some of their almond flavour. I'll also work some of the sieved cherries into the cream and flour to loosen it before adding back to the rest of the cherries.


June 2022: Since writing the above my recipe has evolved a little. Please see the updated version.


A note about cherry stoners


For several years I used a traditional cherry / olive pitter that does one cherry at a time. This worked well, until its spring broke, but tended to spatter the kitchen with cherry juice. I now have a multi pitter from Lakeland. I can no longer find it on their web site, but it appears to be functionally identical to this "Lurch" branded one from Amazon. This does seven cherries at a time, and catches the juice, but is designed for large cherries. The thick prongs rip my small cherries apart, and the smallest cherries can get pushed through the supporting holes. Maybe I should try this "Vantiya" model instead.