Showing posts with label astronomy. Show all posts

Tuesday, 21 November 2017

AstroMedia Copernican Orrery kit - part 2

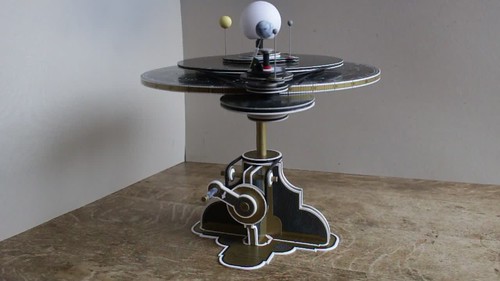
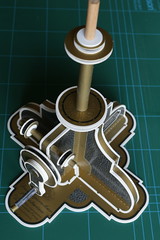
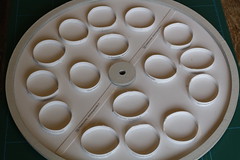
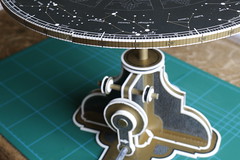
In part 1 I described the first half (approximately) of the construction of a cardboard Orrery kit from AstroMedia. In the second half things get more interesting, and more complicated, as the majority of the pulleys and shafts are assembled.

AstroMedia Copernican Orrery kit

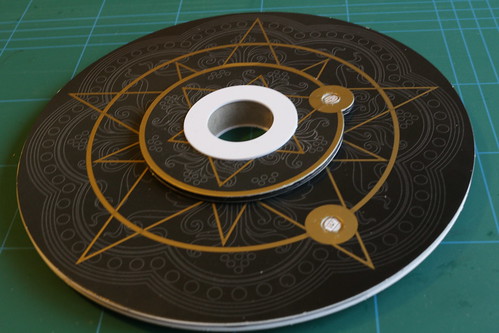
The first part to be constructed is the "planetary gearing". This will eventually roll around the ecliptic disc, held in place by drive bands above and below the ecliptic disc.

AstroMedia Copernican Orrery kit

As you know, Earth's rotational axis is tilted and the Orrery has quite a clever system to keep the axis pointing in (roughly) the same direction as the Earth orbits the sun. The Earth rotates on a steel shaft which runs through a brass tube attached to a small bracket. The bracket is attached to a hollow shaft that passes through the planetary gearing to a drive wheel below.

The Earth's rotation is driven by another pulley and shaft that passes through the planetary gearing. A round magnet attached to the top drives the Earth's rotation via a small piece of silicone tubing. Unfortunately I didn't get the magnet exactly centred on the shaft and so the drive occasionally slips.

AstroMedia Copernican Orrery kit

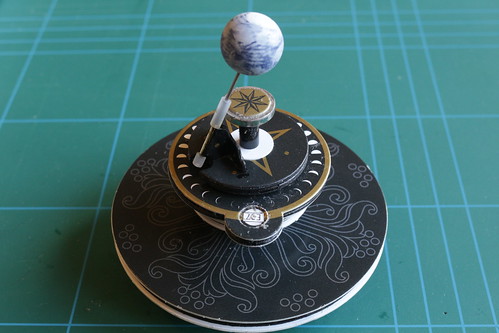
Above the ecliptic disc are two large discs supporting Mercury and Venus. The orbit of Venus is driven by a belt around its large support disc, and Mercury is driven from below by a hollow shaft through the Venus disc. After fitting all the drive belts the moon and remaining planets are attached with steel support pins.

AstroMedia Copernican Orrery kit

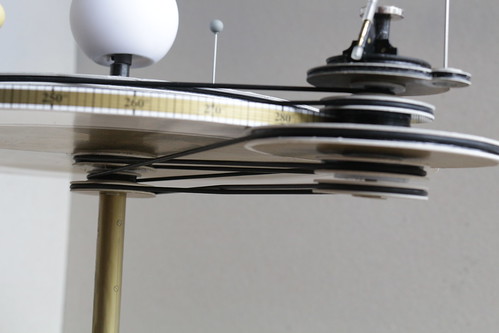
There are five drive belts holding the planetary gearing in place. The topmost one drives the orbit of Venus, the next drives Mercury's orbit. The bottommost one drives Earth's rotation, the next keeps Earth's axis pointing in a constant direction and the last drives the planetary gearing to roll around the ecliptic disc. Does it all work? Watch the video and see for yourself.

AstroMedia Copernican Orrery kit

PS More pictures of its construction are available on Flickr.

Tuesday, 14 November 2017

AstroMedia Copernican Orrery kit - part 1

AstroMedia Copernican Orrery kit

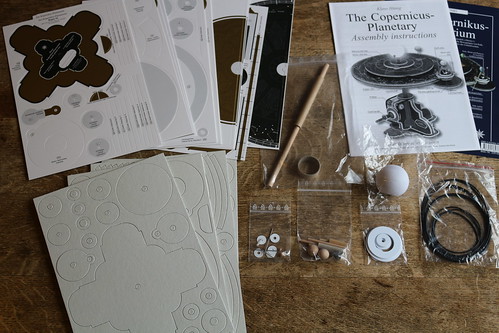
For a long time I've fancied having an Orrery but have been put off by the high price of traditional style brass ones with all the planets (and Pluto). Something much more my style is the cardboard kit from AstroMedia. This only has the inner planets, but I get the fun of building it.

I bought the kit a few months ago from Sherwoods Photographic Ltd, a company I've bought a telescope and accessories from in the past. Two weeks ago I finally got round to starting to construct it.

I soon discovered that one of the die-cut thick card sheets was missing (and I had a duplicate of another sheet). I emailed Sherwoods and they arranged for the UK arm of AstroMedia to send me a replacement, which arrived the next day. Top notch service from both companies.

At the time of writing I'm about halfway through building the kit. So far I'm very impressed with its quality, and with the instruction leaflet, although it occasionally reveals its German language origins. Construction is quite slow as you have to allow glue to set before moving on to the next stage. I'm also doing the optional painting of some cardboard edges on partly assembled components, so I have to wait for that paint to dry as well.

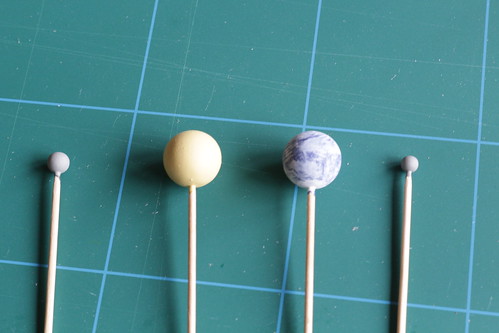
There is a temptation to read ahead and start constructing later parts, but with so many similar looking wheels it could get very confusing. One thing I have done in advance though is to paint the small wooden spheres used to represent the planets and our moon, after temporarily mounting them on cocktail sticks.

AstroMedia Copernican Orrery kit

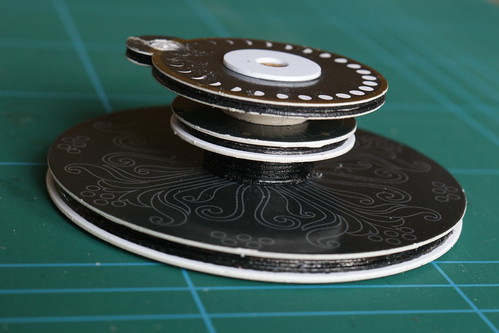
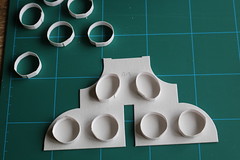
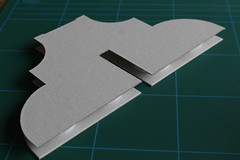
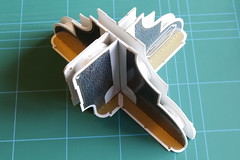
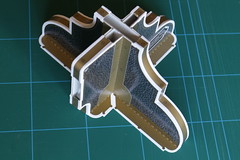
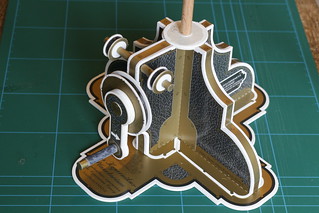
The first component to be built is the pedestal. This uses spacer rings between two sheets of card to make a strong, light structure. Strips of printed paper are used to cover the gap — a fiddly bit of glueing but the result isn't too bad.

AstroMedia Copernican Orrery kit AstroMedia Copernican Orrery kit AstroMedia Copernican Orrery kit AstroMedia Copernican Orrery kit

Next is the drive crank and pulleys, followed by the pedestal base and the central shaft with three pulleys.

AstroMedia Copernican Orrery kit AstroMedia Copernican Orrery kit

Today I finished the ecliptic disc, another structure using spacing rings. It's beginning to look like something now.

AstroMedia Copernican Orrery kit AstroMedia Copernican Orrery kit

PS Part two is now available. More pictures of its construction are available on Flickr.

Sunday, 24 January 2016

Correcting vignetting in digital photographs — introduction

I recently purchased a budget telephoto lens for my Canon EOS 100D DSLR camera. It's a 500mm f/6.3 mirror lens, essentially a small Cassegrain telescope. Like many budget lenses it suffers from "vignetting", i.e. the edges of a photograph are darker than the centre.
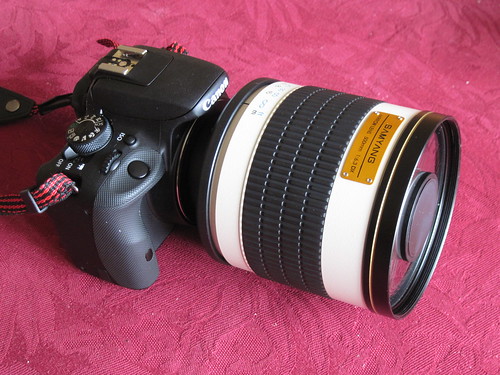
500mm f/6.3 mirror lens

The EOS 100D camera has built in vignette correction (called peripheral illumination correction in the camera's menu) but this only works with Canon lenses for which the camera has data1. Also it is only applied to JPEG images, the raw image files are uncorrected. When processing raw images, or images taken with non-Canon lenses (such as a telescope), I need to apply vignette correction on my Linux computer. In my next blog post I'll describe the software I've written (as part of my Pyctools project) in more detail. This is a general introduction.

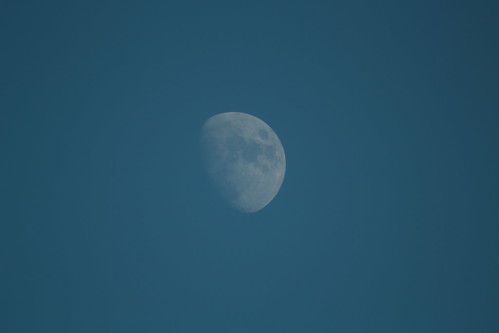
The picture below shows the vignetting problem. It's a subtle effect which may not be that visible, as the eye is very good at ignoring gradual changes in illumination. We evolved in an unevenly lit world. It is also less visible in pictures with lots of detail. A plain clear sky is probably the most testing subject. (Click on a picture to see the full size version on Flickr.)
Winter daytime moon

After correction the sky is a much more even blue, as shown below. Comparing the two might make you think I've over-done the correction, but I'm fairly sure I haven't.

Winter daytime moon

Processing


The processing involved is actually quite simple. Vignetting is a reduction of light that varies with distance from the centre of the image, so correcting it requires multiplying the image pixel values by an amount that also varies with distance from the centre of the image. The tricky bit is determining how much correction to apply at each radius.

I start by photographing a plain grey card, illuminated as evenly as I can manage, using the lens (and lens settings) that I want to correct for. With my budget mirror lens or an astronomical telescope the focal length and aperture are fixed, so I just have to make sure the focus distance is correct.

Vignetting measurements

I then process the photograph with my vignette correction software and adjust its parameters until the output shows minimum radial variation. To check this I multiply the corrected image data by increasing amounts (4, 8, 16, etc.) as I get nearer the optimum settings. Eventually the unevenness of the card's illumination is the dominant factor. I can then store the vignette corrector settings, knowing they will be applicable to other pictures taken with that lens.

At this point you might be thinking what about gamma correction? The vignette correction needs to be applied to linear intensity, so should be done before the raw image data is gamma corrected for storage in JPEG or similar formats, i.e. as part of the raw image processing. In the moon examples shown above I didn't capture raw images, so I applied an inverse gamma function before correcting the vignette and then gamma correcting again.


[1] I got some odd results when I first started using the 500mm mirror lens. I'm using a T adaptor with a focus confirmation "chip" that the camera recognised as a Canon 50mm f/1.8 lens and applied that lens's correction data. I cured this problem by using Canon's software to remove all lens data from the camera except the Canon lens I have.

Wednesday, 1 October 2008

Happy birthday, NASA

According to today's edition of the always interesting Astronomy Picture of the Day, today marks the 50th anniversary of the creation of NASA.

I hope the next 50 years are as exciting as the first.

Wednesday, 7 May 2008

The Moon and Mercury


Last night I took my first astro photos for a long time. There was a near conjunction of the Moon and the planet Mercury. I set up my Canon 350d and Sigma 70-300 zoom lens in my bedroom, pointing out through an unopenable (and dirty!) window towards a cluttered horizon.

By about half past eight it was beginning to get dark enough that I thought I might see something, but it was only at about ten to nine that the crescent Moon suddenly popped into view. I started taking pictures, one after another, playing with exposure time, focus and focal length in the hope of getting a good shot. I knew Mercury would be to the left of the Moon (thanks to the Planetarium program on my Palm PDA) and that it should fit in the field of view of a 300mm lens, but I couldn't see it in the viewfinder or with the naked eye.

Of all the pictures I took, this is the least worse. Mercury is clearly visible, and it's also the youngest new Moon I've photographed - just 1 day, 7¾ hours old.