Showing posts with label diy. Show all posts

Tuesday, 21 November 2017

AstroMedia Copernican Orrery kit - part 2

In part 1 I described the first half (approximately) of the construction of a cardboard Orrery kit from AstroMedia. In the second half things get more interesting, and more complicated, as the majority of the pulleys and shafts are assembled.

AstroMedia Copernican Orrery kit

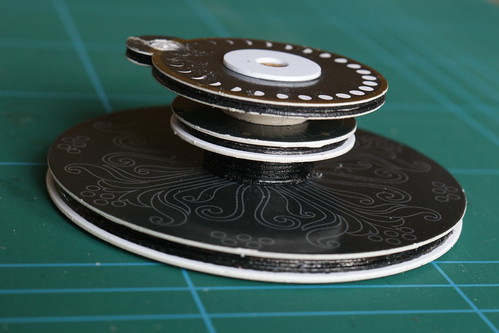
The first part to be constructed is the "planetary gearing". This will eventually roll around the ecliptic disc, held in place by drive bands above and below the ecliptic disc.
AstroMedia Copernican Orrery kit

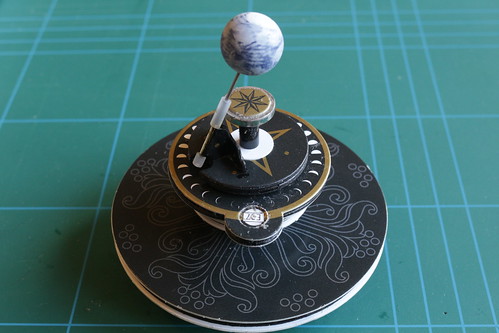
As you know, Earth's rotational axis is tilted and the Orrery has quite a clever system to keep the axis pointing in (roughly) the same direction as the Earth orbits the sun. The Earth rotates on a steel shaft which runs through a brass tube attached to a small bracket. The bracket is attached to a hollow shaft that passes through the planetary gearing to a drive wheel below.

The Earth's rotation is driven by another pulley and shaft that passes through the planetary gearing. A round magnet attached to the top drives the Earth's rotation via a small piece of silicone tubing. Unfortunately I didn't get the magnet exactly centred on the shaft and so the drive occasionally slips.
AstroMedia Copernican Orrery kit

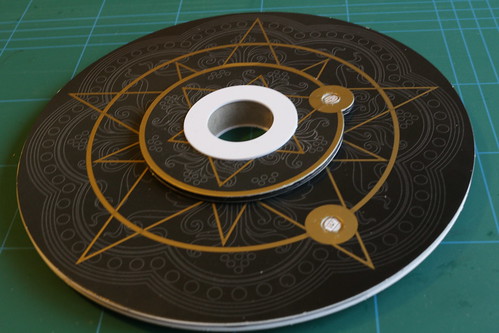
Above the ecliptic disc are two large discs supporting Mercury and Venus. The orbit of Venus is driven by a belt around its large support disc, and Mercury is driven from below by a hollow shaft through the Venus disc. After fitting all the drive belts the moon and remaining planets are attached with steel support pins.
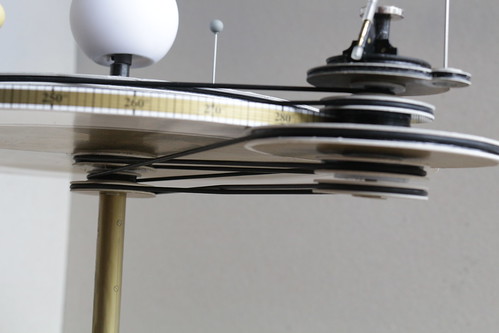
AstroMedia Copernican Orrery kit

There are five drive belts holding the planetary gearing in place. The topmost one drives the orbit of Venus, the next drives Mercury's orbit. The bottommost one drives Earth's rotation, the next keeps Earth's axis pointing in a constant direction and the last drives the planetary gearing to roll around the ecliptic disc. Does it all work? Watch the video and see for yourself.
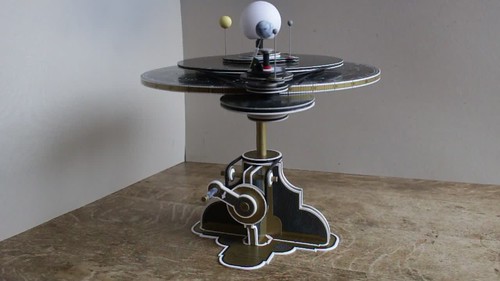
AstroMedia Copernican Orrery kit

PS More pictures of its construction are available on Flickr.

Tuesday, 14 November 2017

AstroMedia Copernican Orrery kit - part 1

AstroMedia Copernican Orrery kit

For a long time I've fancied having an Orrery but have been put off by the high price of traditional style brass ones with all the planets (and Pluto). Something much more my style is the cardboard kit from AstroMedia. This only has the inner planets, but I get the fun of building it.

I bought the kit a few months ago from Sherwoods Photographic Ltd, a company I've bought a telescope and accessories from in the past. Two weeks ago I finally got round to starting to construct it.

I soon discovered that one of the die-cut thick card sheets was missing (and I had a duplicate of another sheet). I emailed Sherwoods and they arranged for the UK arm of AstroMedia to send me a replacement, which arrived the next day. Top notch service from both companies.

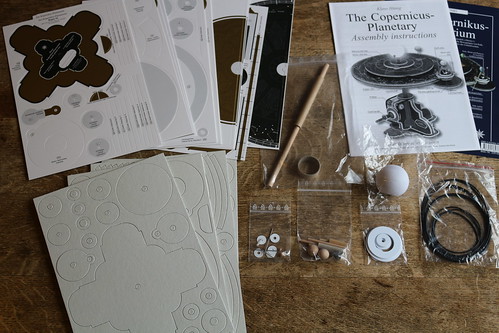
At the time of writing I'm about halfway through building the kit. So far I'm very impressed with its quality, and with the instruction leaflet, although it occasionally reveals its German language origins. Construction is quite slow as you have to allow glue to set before moving on to the next stage. I'm also doing the optional painting of some cardboard edges on partly assembled components, so I have to wait for that paint to dry as well.

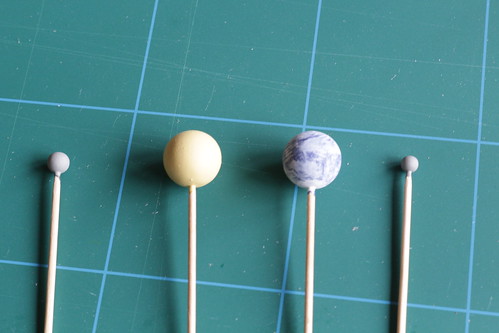
There is a temptation to read ahead and start constructing later parts, but with so many similar looking wheels it could get very confusing. One thing I have done in advance though is to paint the small wooden spheres used to represent the planets and our moon, after temporarily mounting them on cocktail sticks.

AstroMedia Copernican Orrery kit

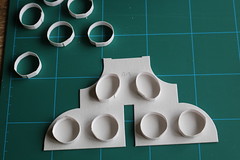
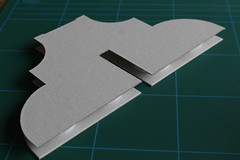
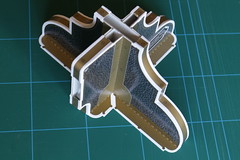
The first component to be built is the pedestal. This uses spacer rings between two sheets of card to make a strong, light structure. Strips of printed paper are used to cover the gap — a fiddly bit of glueing but the result isn't too bad.

AstroMedia Copernican Orrery kit AstroMedia Copernican Orrery kit AstroMedia Copernican Orrery kit AstroMedia Copernican Orrery kit

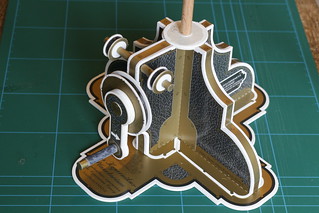
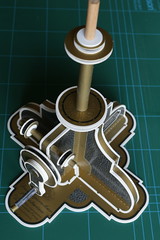
Next is the drive crank and pulleys, followed by the pedestal base and the central shaft with three pulleys.

AstroMedia Copernican Orrery kit AstroMedia Copernican Orrery kit

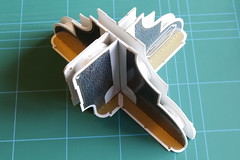
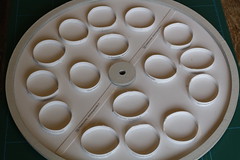
Today I finished the ecliptic disc, another structure using spacing rings. It's beginning to look like something now.

AstroMedia Copernican Orrery kit AstroMedia Copernican Orrery kit

PS Part two is now available. More pictures of its construction are available on Flickr.
Sunday, 30 March 2008

The shed - part 4


At last, the shed is finished. I wasn't sure if I should put it up on Friday or Saturday - I looked at several different weather forecasts, some said rain on Friday, some said rain on Saturday. Then Sarah got a short notice singing job on Saturday, so that decided it. We spent a very wet Friday screwing the panels together.

On Saturday morning I put on the roofing felt and all the finishing touches just before the rain started again. Then in a gap between showers I put in the window glass.

Next job, fill the shed by partially clearing the garage.

Thursday, 27 March 2008

The shed - part 3


At long last, I'm ready to start putting up the shed. First I laid a sloping path along the side of the shed, using 450mm square slabs, and a raised path along the back, using 440mm x 220mm concrete blocks. Then I laid 12 "pads" to support the shed, using half slabs, bricks or blocks as required to get the right height. Getting these correctly positioned and level was not easy!

Finally I put in some blocks at the left to contain the soil under the compost bins and concreted the gap between the path and the fence. I don't want anything growing here. I filled the gap between the blocks and the back fence with the rest of the "granular sub base" material. I may put proper slabs over this later.

The photograph shows the finished work, just before I back filled with some of the previously excavated soil.

Sunday, 23 March 2008

The shed - part 2


The weather over the last few days has been almost as bad as it could be for garden works. Cold, windy, rain and now snow.

After digging out the very soft soil mentioned in my last post, I've reached a heavier more clayey layer. (But not yet down to the solid yellow clay I found when putting in some fence posts last year.) Overnight rain turned one corner of the hole into a puddle, with very soft and squidgy ground below.

Yesterday I barrowed most of the 850kg bag of sub base aggregate from next to the house (where the lorry crane dropped the bag) to the hole at the far end of the garden. Having spread it out, roughly levelled it out and tamped it down a little, most of the area now has a firm surface I'll be happy to start laying the slabs on. However, the muddy corner is still very wobbly. The sub-base has yet to make much improvement. I hope that if it dries out a little over the next day or two I'll be able to compact it properly and make it firm.

Tuesday, 18 March 2008

The shed - part 1


I'm taking some time off work to put up a garden shed. It arrived on Monday, but as I'm nowhere near ready to assemble it the panels are stacked up on my back lawn, with a tarpaulin to protect them from the inevitable rain.

After a lot of deliberation, and several changes of mind, I've decided not to take on the work of a concrete base for it. Instead I'll lay paving slabs to support treated timber bearers, which then support the shed.

After stripping the top inch or two of soil and vegetation over the last three days I've realised that my waterlogged clay soil is just not up to having paving slabs laid on it (with a 50mm bed of sand & cement). Pressing down on the soil with the ball of my foot produces visible movement an inch or more away. I know that, come summer, this soil will be rock hard and cracked.

So I've started digging down another couple of inches to where the solid clay begins. This is only a bit firmer, but I've ordered a jumbo bag (~850kg) of "granular sub base" which should produce a firmer surface once I've spread and compacted it. I've also got to find somewhere to hide a huge pile of poor quality soil.

None of this would have been possible without the brilliant Paving Expert web site. It's taught me everything I know.