Tuesday, 30 January 2018

Sussex pond pudding

Last weekend I made a Sussex pond pudding and, as I occasionally do, I posted a picture of it on Facebook. The ensuing discussion included both a request for my recipe and a link to a recent Guardian article "the perfect... Sussex pond pudding".

Here's my recipe, fleshed out with a few pictures. I've taken it from a slim booklet of traditional Sussex recipes I bought a few years ago in a branch of "Sussex Stationers", a now defunct budget bookshop chain.

1/ Make suet pastry from 8 oz self raising flour, 4 oz suet, 2 oz breadcrumbs, pinch of salt, and enough water to make a soft dough. I use a food processor as I don't have the knack of making pastry by hand. The Guardian's recipe omits breadcrumbs, so won't have the brown flecks (from the crust) you can see in my picture.
Sussex pond pudding

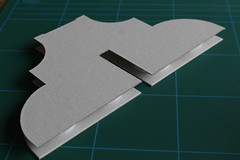
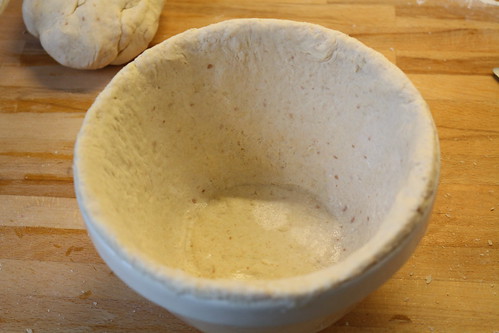
2/ Roll out the pastry and line a buttered 2 pint pudding bowl. To make a better fit to the steep sided bowl I cut out three triangles so the remainder is like a radiation warning symbol shape. I then join these cut edges (after dampening with water) inside the bowl. Trim around the top edge then combine all the pastry offcuts and roll out to make a circular lid.
Sussex pond pudding

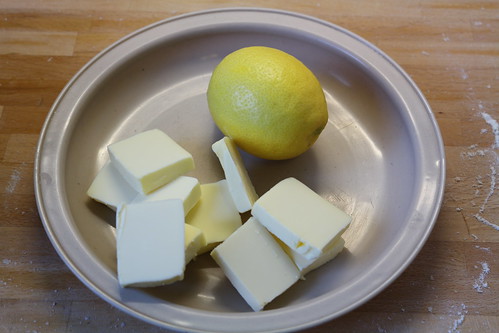
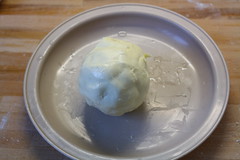
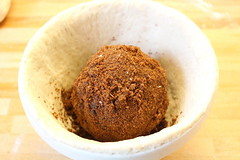
3/ Wash an unwaxed lemon and cut up 4 oz of butter and allow to soften. Stab the lemon many times with a skewer, then wrap in the butter, then roll in 4 oz of dark brown sugar. Place in the lined bowl with any left over sugar. The Guardian's version slashes the lemon with a knife and simply surrounds it with cubed butter and sugar which looks a lot easier.
Sussex pond pudding Sussex pond pudding

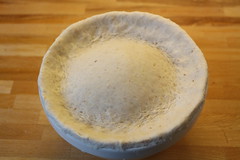
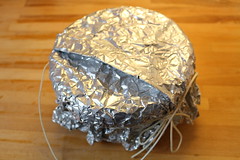
4/ Attach the lid and trim the edges, then cover with a circle of parchment and an aluminium foil lid with room for expansion. It domes right up as it cooks.
Sussex pond pudding Sussex pond pudding

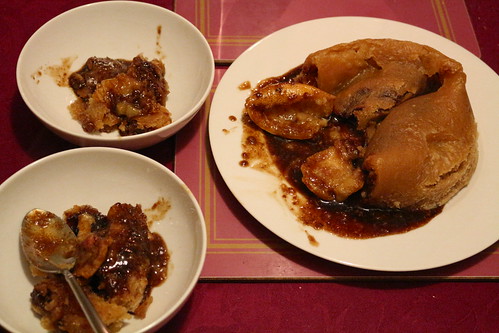
5/ Steam for 3 to 4 hours (or a bit more), turn out on to a plate and eat.
Sussex pond pudding

Tuesday, 21 November 2017

AstroMedia Copernican Orrery kit - part 2

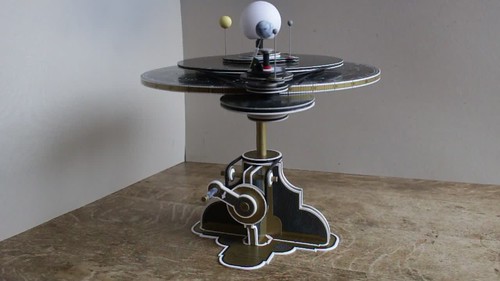
In part 1 I described the first half (approximately) of the construction of a cardboard Orrery kit from AstroMedia. In the second half things get more interesting, and more complicated, as the majority of the pulleys and shafts are assembled.

AstroMedia Copernican Orrery kit

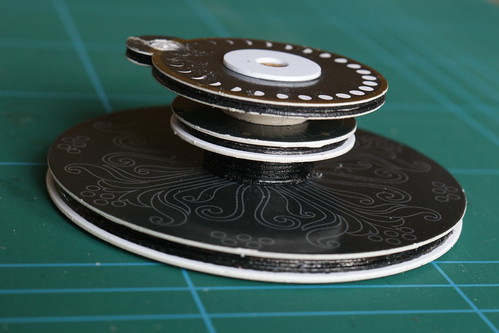
The first part to be constructed is the "planetary gearing". This will eventually roll around the ecliptic disc, held in place by drive bands above and below the ecliptic disc.

AstroMedia Copernican Orrery kit

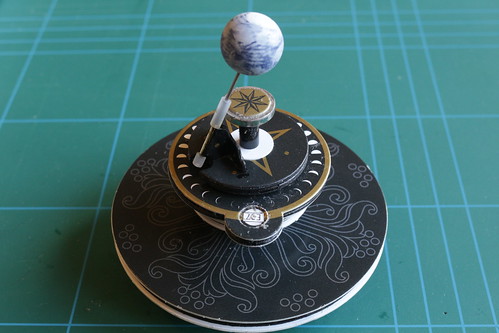
As you know, Earth's rotational axis is tilted and the Orrery has quite a clever system to keep the axis pointing in (roughly) the same direction as the Earth orbits the sun. The Earth rotates on a steel shaft which runs through a brass tube attached to a small bracket. The bracket is attached to a hollow shaft that passes through the planetary gearing to a drive wheel below.

The Earth's rotation is driven by another pulley and shaft that passes through the planetary gearing. A round magnet attached to the top drives the Earth's rotation via a small piece of silicone tubing. Unfortunately I didn't get the magnet exactly centred on the shaft and so the drive occasionally slips.

AstroMedia Copernican Orrery kit

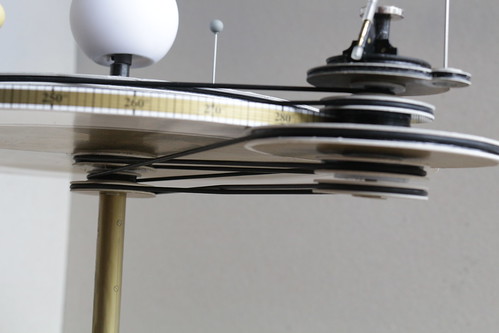
Above the ecliptic disc are two large discs supporting Mercury and Venus. The orbit of Venus is driven by a belt around its large support disc, and Mercury is driven from below by a hollow shaft through the Venus disc. After fitting all the drive belts the moon and remaining planets are attached with steel support pins.

AstroMedia Copernican Orrery kit

There are five drive belts holding the planetary gearing in place. The topmost one drives the orbit of Venus, the next drives Mercury's orbit. The bottommost one drives Earth's rotation, the next keeps Earth's axis pointing in a constant direction and the last drives the planetary gearing to roll around the ecliptic disc. Does it all work? Watch the video and see for yourself.

AstroMedia Copernican Orrery kit

PS More pictures of its construction are available on Flickr.

Tuesday, 14 November 2017

AstroMedia Copernican Orrery kit - part 1

AstroMedia Copernican Orrery kit

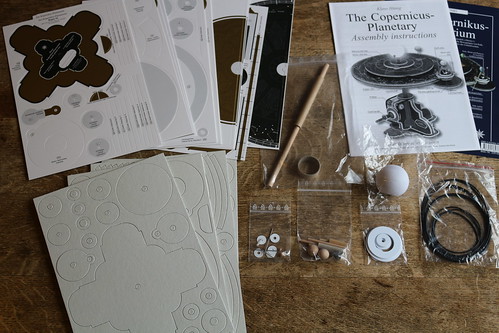
For a long time I've fancied having an Orrery but have been put off by the high price of traditional style brass ones with all the planets (and Pluto). Something much more my style is the cardboard kit from AstroMedia. This only has the inner planets, but I get the fun of building it.

I bought the kit a few months ago from Sherwoods Photographic Ltd, a company I've bought a telescope and accessories from in the past. Two weeks ago I finally got round to starting to construct it.

I soon discovered that one of the die-cut thick card sheets was missing (and I had a duplicate of another sheet). I emailed Sherwoods and they arranged for the UK arm of AstroMedia to send me a replacement, which arrived the next day. Top notch service from both companies.

At the time of writing I'm about halfway through building the kit. So far I'm very impressed with its quality, and with the instruction leaflet, although it occasionally reveals its German language origins. Construction is quite slow as you have to allow glue to set before moving on to the next stage. I'm also doing the optional painting of some cardboard edges on partly assembled components, so I have to wait for that paint to dry as well.

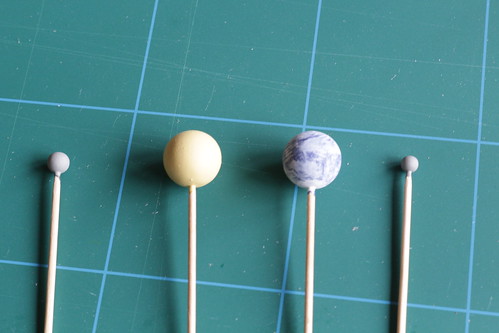
There is a temptation to read ahead and start constructing later parts, but with so many similar looking wheels it could get very confusing. One thing I have done in advance though is to paint the small wooden spheres used to represent the planets and our moon, after temporarily mounting them on cocktail sticks.

AstroMedia Copernican Orrery kit

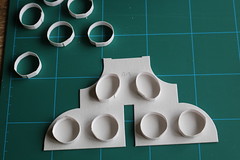
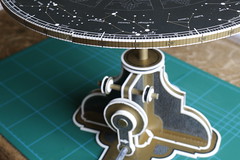
The first component to be built is the pedestal. This uses spacer rings between two sheets of card to make a strong, light structure. Strips of printed paper are used to cover the gap — a fiddly bit of glueing but the result isn't too bad.

AstroMedia Copernican Orrery kit AstroMedia Copernican Orrery kit AstroMedia Copernican Orrery kit AstroMedia Copernican Orrery kit

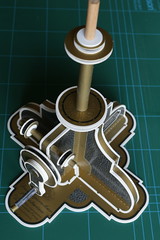
Next is the drive crank and pulleys, followed by the pedestal base and the central shaft with three pulleys.

AstroMedia Copernican Orrery kit AstroMedia Copernican Orrery kit

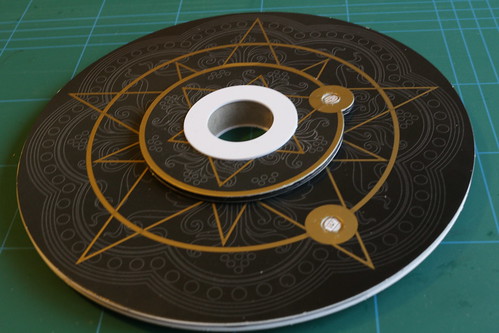
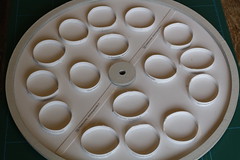
Today I finished the ecliptic disc, another structure using spacing rings. It's beginning to look like something now.

AstroMedia Copernican Orrery kit AstroMedia Copernican Orrery kit

PS Part two is now available. More pictures of its construction are available on Flickr.